

 Downloader
 Free FTP
Promote Your Product
Got a product, service, or story to share? Promote it directly to our active community and boost your brand today.
Create an Ad
Publish Bulk Blog Posts
Boost Your Reach! 📝
Have articles, guest posts, or bulk stories to publish? Send your content directly to our editorial team and feature on our platform.
Email Us Your PostsHow to Plan the Perfect Laboratory Layout: A Step-by-Step Guide
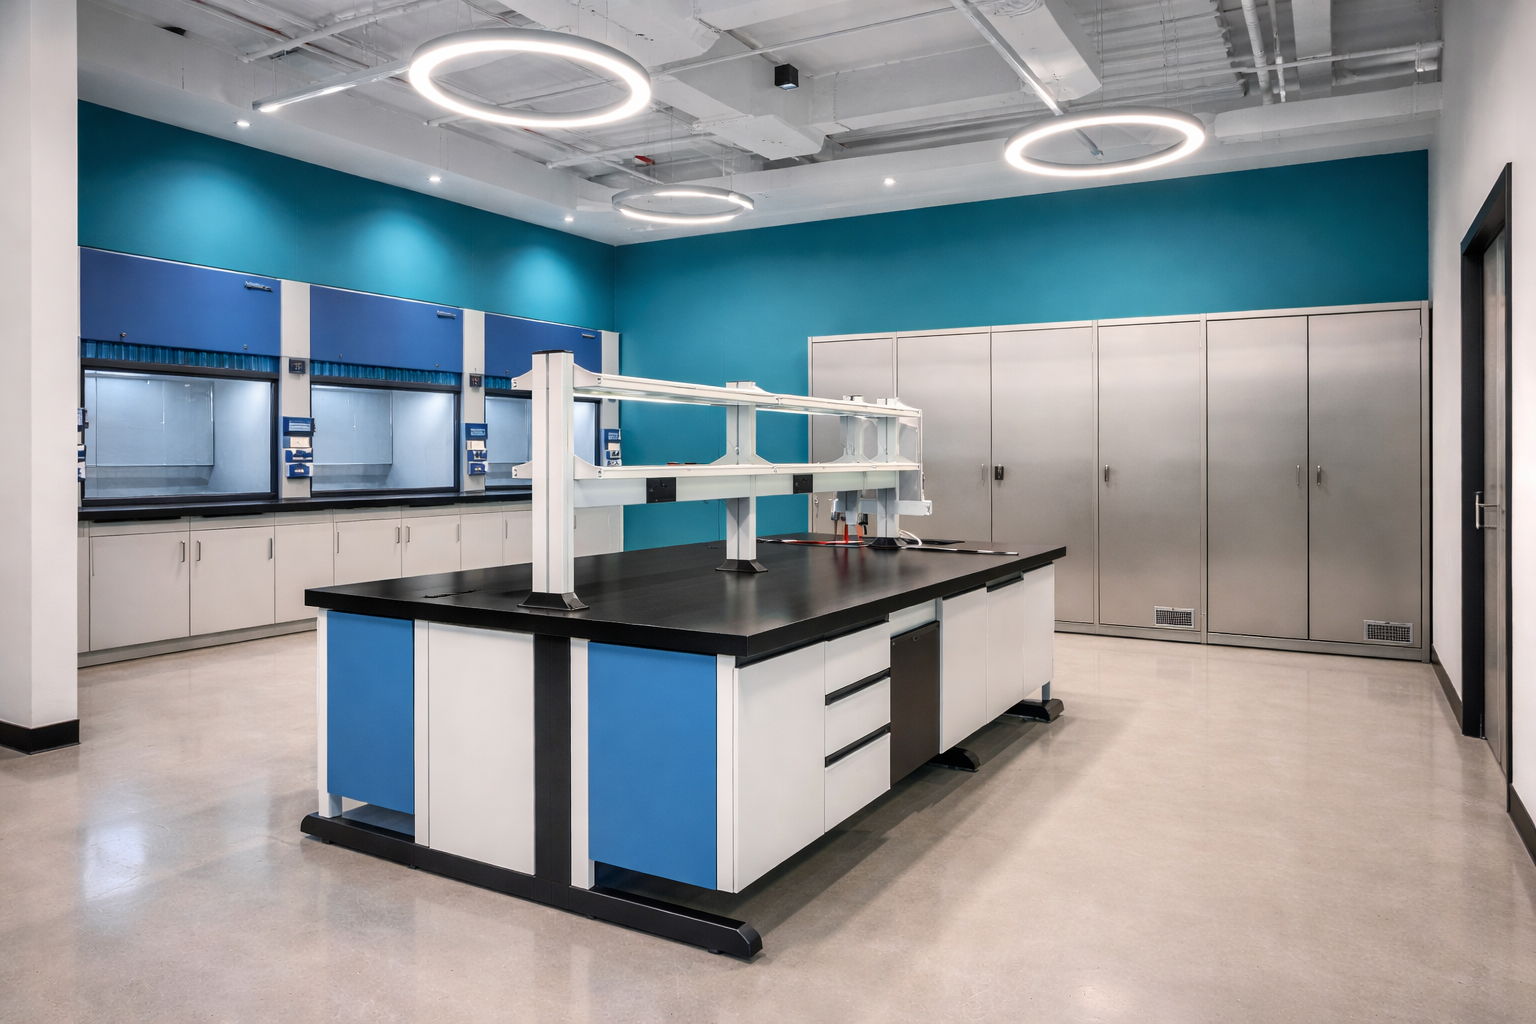
Designing a Best Laboratory Furniture is not just about placing equipment and furniture in a room. A well-planned laboratory layout directly impacts safety, efficiency, compliance, and productivity. Whether you’re setting up a new lab or upgrading an existing one, thoughtful planning ensures smooth workflows and a future-ready workspace.
This step-by-step guide walks you through everything you need to consider to plan the perfect laboratory layout.
Step 1: Define the Purpose of the Laboratory
Before planning the layout, clearly understand what the lab will be used for.
Ask key questions such as:
-
What type of work will be conducted (research, testing, quality control, teaching)?
-
What processes will run daily?
-
How many users will work in the lab at the same time?
The answers will determine the type of equipment, storage, safety features, and space allocation required.
Step 2: Identify Workflow and Process Flow
Efficient laboratories are designed around workflow.
Map out:
-
Sample entry and exit points
-
Preparation areas
-
Testing or analysis zones
-
Data recording and storage areas
A logical flow minimizes unnecessary movement, reduces cross-contamination, and saves time. Ideally, work should move in one direction—from preparation to processing to disposal.
Step 3: Allocate Zones Within the Laboratory
Dividing the lab into functional zones improves organization and safety.
Common lab zones include:
-
Preparation Zone – reagent mixing, sample prep
-
Testing/Analysis Zone – equipment and instruments
-
Storage Zone – chemicals, samples, consumables
-
Wash & Waste Zone – sinks, waste disposal
-
Office/Data Zone – documentation and analysis
Clear zoning ensures that incompatible activities do not overlap.
Step 4: Prioritize Safety and Compliance
Safety should be at the core of your laboratory layout.
Ensure:
-
Adequate spacing between workstations
-
Proper placement of fume hoods and ventilation systems
-
Easy access to emergency exits
-
Strategically located eyewash stations and safety showers
The layout must comply with relevant industry standards and safety regulations to protect personnel and equipment.
Step 5: Choose the Right Laboratory Furniture
Laboratory furniture plays a major role in functionality and durability.
Consider:
-
Chemical-resistant workbenches
-
Ergonomic seating for long working hours
-
Modular furniture for flexibility
-
Anti-vibration tables for sensitive instruments
High-quality lab furniture enhances efficiency while reducing long-term maintenance costs.
Step 6: Plan Utilities and Services Early
Utilities should be planned before finalizing the layout.
This includes:
-
Electrical outlets and backup power
-
Gas and water connections
-
Drainage systems
-
Data and communication points
Poor utility planning can lead to costly redesigns later.
Step 7: Optimize Space Without Overcrowding
An ideal lab balances space utilization with comfort.
Avoid:
-
Overloading workstations
-
Blocking movement paths
-
Cramped equipment placement
Adequate aisle widths and open movement areas improve safety and workflow efficiency.
Step 8: Consider Ergonomics and User Comfort
Laboratory staff often work long hours, making ergonomics essential.
Incorporate:
-
Adjustable-height workbenches
-
Comfortable seating
-
Proper lighting to reduce eye strain
Ergonomic design improves productivity and reduces fatigue-related errors.
Step 9: Design for Future Expansion
Laboratory needs evolve over time.
Plan for:
-
Additional equipment
-
Increased staffing
-
Technology upgrades
Modular layouts and flexible furniture make it easier to adapt without major renovations.
Step 10: Review, Test, and Refine the Layout
Before final implementation:
-
Review the layout with lab users
-
Simulate daily workflows
-
Identify potential bottlenecks
Testing the design on paper or digitally helps avoid costly mistakes during installation.
Conclusion
Planning the perfect laboratory layout requires a careful balance of functionality, safety, compliance, and future flexibility. By following a structured approach and investing in the right furniture and design solutions, you can create a laboratory that supports high performance, safety, and long-term growth.
A well-designed lab isn’t just a workspace—it’s a foundation for innovation and success.

 English
 Arabic
 French
 Spanish
 Portuguese
 Deutsch
 Turkish
 Dutch
Dutch
 Italiano
 Russian
 Portuguese (Brazil)
 Greek
Greek